Recording Screencasts and Video Presentations With Pro Sound
When working from home, telecommuting, or remote teaching, it’s important to make sure the sound of your voice is clear and full. Nothing loses a viewer’s attention faster than when the voice is a mess of echo and unwanted background noise. Typical computer webcams and microphones built into video cameras are not great for picking up the voice of a presenter. Here’s how you can ditch the thin-sounding built-in mic for something more robust to keep your audience’s attention where it belongs, on your content.
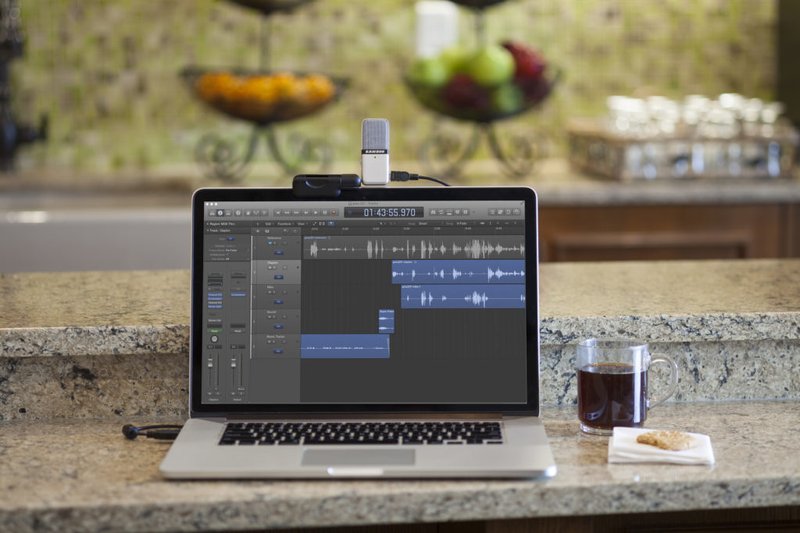
Get Mic’d Up
There are quite a few choices out there in terms of microphones types. If you want to have a discreet solution that can clip on to your laptop or can be moved around, close to the subject, the Samson Go Mic is a great choice. It’s small, connects via USB, and will give you much more clarity than a built in webcam mic. It even includes switchable cardioid and omnidirectional pickup patterns for handling a variety of applications.
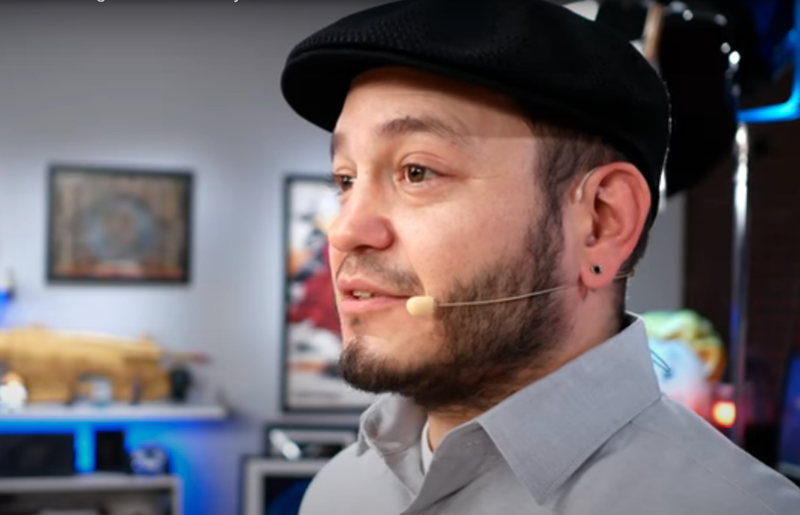
If you want to be able to freely turn your head and move around the room a bit, you’re going to want to look at a wireless headworn mic like the Samson XPD2 Headset. The XPD2 Headset system allows you to bring a wireless microphone to a variety of sound applications via its uniquely designed USB stick receiver. Having a wireless system like the XPD2 frees your hands and allows you to face any direction without having to worry about words and phrases getting ‘lost’ if you inadvertently turn your head.
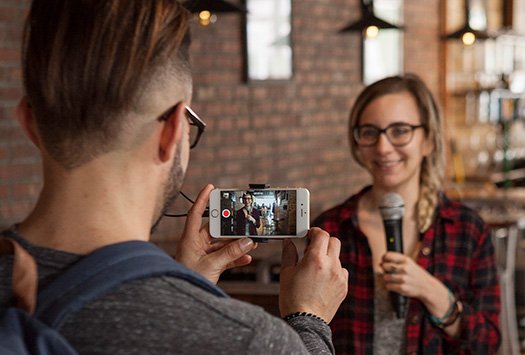
If you plan on using a mobile device to record, the Go Mic Mobile wireless system is worth a look. It’s designed to clamp directly on the back of your phone, and it has cables included to connect to just about any device. You can record in iOS using your standard video app, you don’t need to use any specific software. You can even record directly in the Google Drive app and have your video ready to share instantly. This system is available with either a clip-on lavalier or a handheld mic. One of the best features is that you can even use two microphones with one receiver at the same time! Add a second lavalier or handheld, whatever works best for you.
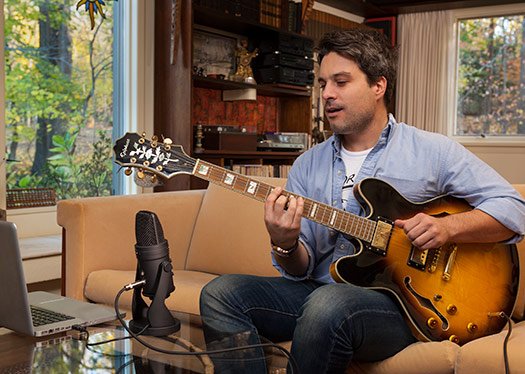
If sound quality and a host of flexible features is of the highest importance, you’ll want to take a look at a USB condenser mic like the G-Track Pro. Samson’s G-Track Pro will give you the full-spectrum sound of a condenser while also giving you features like selectable pickup patterns to match your presenter’s application. You can even plug in a second sound source like a media player or musical instrument!
All of these mic choices connect via USB and do not require any drivers or software to install to get working. They’ll work with just about any app you can record video with, but if you don’t have one picked out yet – take a glance at OBS Studio.
Step Up Your App Game
OBS Studio is a free app that allows you to stream or record video with a host of easy to use, professional features. Once you’ve got it downloaded, you’ll want to add some sources. A source is a device you’re using in your setup. To record video and audio, you’ll need two sources. At the bottom of the source box, click the plus sign. You’ll get a drop down menu with a bunch of choices. First, pick ‘Video Capture Device’. You’ll want to choose your computer’s webcam if that’s what you’re using to film yourself. You can also choose an external camera or webcam if you have one.
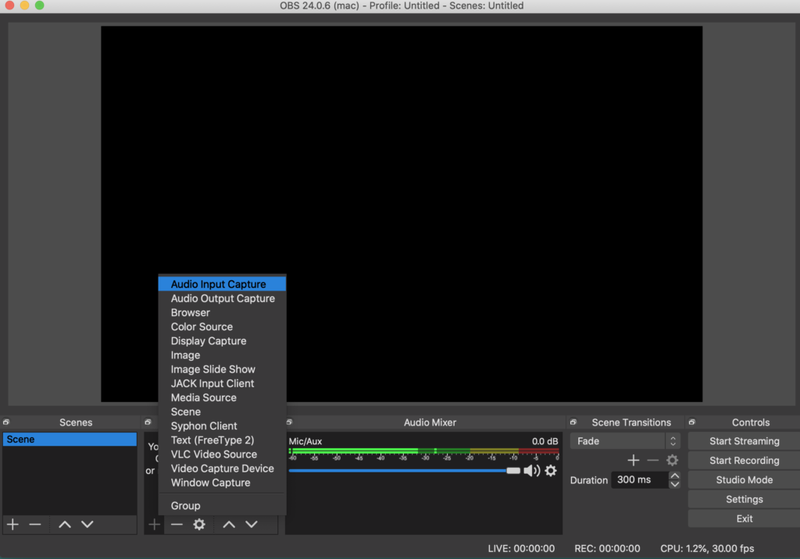
Now to add your Samson audio device, click that same ‘plus sign’ at the bottom of the sources window. This time choose ‘Audio Input Capture’. You’ll then be asked to name it, and you’ll have a little window pop up asking you to choose an audio device from the drop down menu. Pick your Samson audio device and you’ll be good to go!
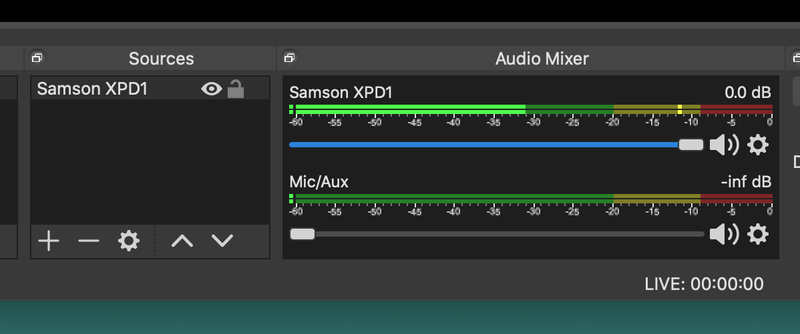
Some webcams and computer setups will automatically add the webcam’s mic when you choose the video input. If this happens, you can simply lower the volume of it all the way and you won’t have any sound from the webcam. Instead the audio will come from your external Samson USB microphone and sound great!
Lights, Camera, Action!
You’ve now got the ability to start recording! You can click the ‘start recording’ button in the bottom right, or you can open up the preferences menu and click on the ‘output’ tab on the left side to choose where your recording will be saved. After recording your presentation, upload it to your favorite video or file sharing service like Google Drive or DropBox or directly to YouTube to share with your adoring fans!
Watch educator Matt Vanacoro demonstrate how to pre-record and share video presentations and classroom lessons.
